Your lawnmower's idler pulley is a small but vital component ensuring smooth operation and extending the life of your machine. A failing idler pulley can lead to belt slippage, reduced cutting power, and ultimately, mower failure. This guide provides a step-by-step approach to selecting, installing, and maintaining your idler pulley, using Tractor Supply Co. as a convenient source for replacement parts. We'll cover everything from understanding the pulley's function to troubleshooting common issues. For additional storage solutions, check out these helpful options.
Understanding Your Lawn Mower's Idler Pulley
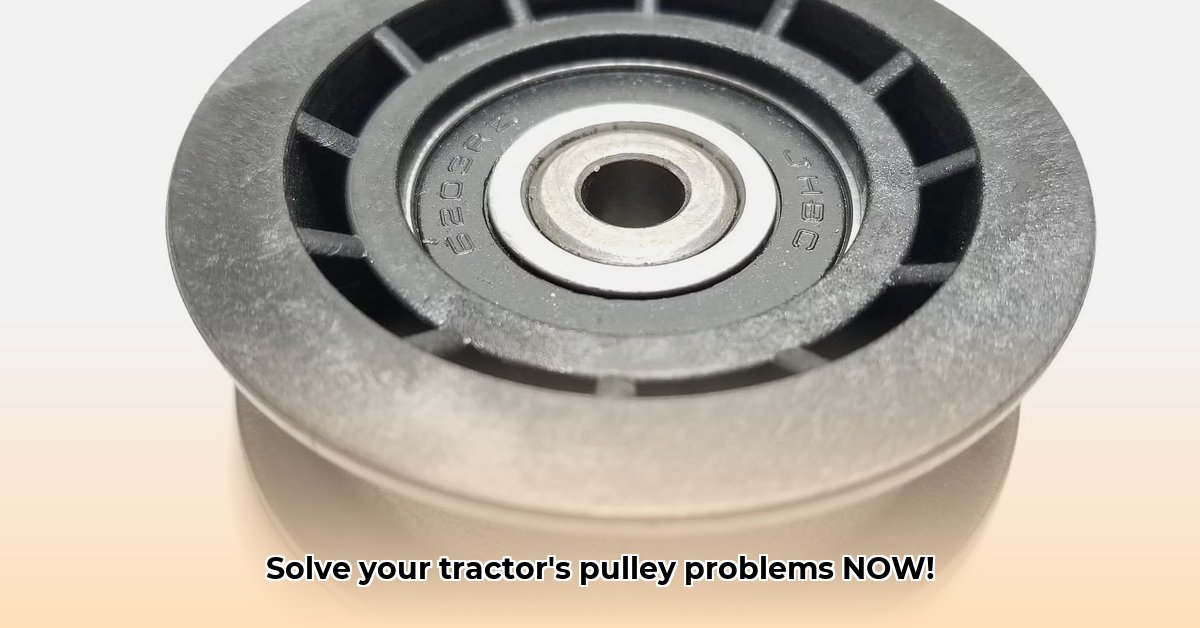
The idler pulley, a simple wheel (typically metal or plastic), is integral to your mower's belt drive system. Its primary function is to maintain the correct tension on the drive belt. Proper tension is crucial for efficient power transfer from the engine to the blades. Too little tension results in belt slippage and poor cutting, while excessive tension puts undue stress on the belt and other components, causing premature wear. The idler pulley is the key to achieving that perfect balance.
Choosing the Right Idler Pulley at Tractor Supply
Selecting the correct replacement idler pulley involves several key steps. Finding the right one is the first step towards a smoothly operating lawnmower.
Step 1: Identifying Your Mower Model:
Locate your mower's model number. This crucial information is usually found on a sticker located underneath the mower's hood, on the side panel, or beneath the seat. Note down the exact model number; this is essential for finding a compatible replacement part.
Step 2: Gathering Pulley Specifications:
You'll need the following measurements from your existing pulley:
- Diameter: The overall size of the pulley.
- Width: The pulley's thickness.
- Bore Size: The diameter of the central hole that fits over the shaft.
You can measure these directly from the old pulley, or often find them specified in your owner's manual. Accurate measurements are critical for a successful replacement.
Step 3: Searching Tractor Supply Co.:
Visit the Tractor Supply Co. website (1). Use their search function, inputting your mower's model number and the pulley's specifications (diameter, width, and bore size). Refine your search using their filter options for more precise results. Always compare multiple options and check customer reviews to further verify compatibility.
Step 4: Verifying Compatibility:
Before purchasing, meticulously confirm that the selected pulley matches your mower's specifications exactly. A minor discrepancy could lead to issues like slippage or premature wear.
Installing Your New Idler Pulley: A Step-by-Step Guide
Replacing the idler pulley is a relatively straightforward task, but safety is paramount. Always disconnect the spark plug before starting any work on your mower's engine.
Step 1: Prepare the Mower:
Disconnect the spark plug to prevent accidental engine start-up. Consult your owner's manual for the exact location and procedure.
Step 2: Remove the Old Pulley:
Carefully loosen and remove the fasteners (bolts or screws) securing the old idler pulley. This may require a wrench or other tools; refer to your manual for the correct tool sizes. Once loose, gently remove the old pulley. Inspect the mounting area for any damage or debris; clean it before moving forward.
Step 3: Install the New Pulley:
Carefully align the new idler pulley with its mounting area; the pulley should slide into place easily without forcing. Ensure it fits neatly and sits correctly.
Step 4: Secure the Pulley:
Tighten the fasteners to the manufacturer's specified torque. Over-tightening can damage the pulley or the mounting area, while under-tightening can lead to slippage. Consult your owner's manual for the correct torque.
Step 5: Reconnect and Test:
Reconnect the spark plug. Start the mower and observe its operation. Check for smooth running and proper belt tension; the belt shouldn't slip. If the mower runs smoothly, you've successfully installed the new pulley.
Metal vs. Plastic: Choosing the Right Material
Idler pulleys are available in metal and plastic. Each material boasts advantages and disadvantages:
| Material | Pros | Cons |
|---|---|---|
| Metal | Superior durability, longer lifespan | Typically more expensive, potentially heavier |
| Plastic | More affordable, often lighter | Less durable, may wear out faster under stress |
The best choice depends on factors like budget and mower usage intensity. Metal offers superior durability, particularly for heavy-duty mowers or professional use, while plastic might suffice for infrequent or light usage.
Maintaining Your Idler Pulley: Prolonging its Life
Regular maintenance ensures the longevity of your idler pulley and optimal mower performance.
- Regular Inspections: Periodically inspect the pulley for wear, cracks, or damage.
- Cleanliness: Keep the pulley and surrounding area clean and free from debris.
- Lubrication (if needed): If the pulley has bearings, lubricate as recommended in your owner's manual. Over-lubrication can attract dust and debris.
- Addressing Squeaks: Squeaking suggests a worn pulley, loose belt, or misalignment. Address these immediately.
- Belt Slippage: Recurring belt slippage requires attention; it points to potential problems with the idler pulley, belt tension, or the belt itself.
By following these instructions, you can confidently replace and maintain your lawnmower's idler pulley, ensuring efficient operation and a beautifully manicured lawn. Remember, regular maintenance is key to prolonging the life of your equipment.